I only recently started to explore the magical world of elderberries, and there is so much to learn.
I wasn’t introduced to elderberries as a child and I didn’t even know about them until about 10 years ago. Now that I know how amazing they are, I scan the Oregon roadside and trails for elderberry bushes.
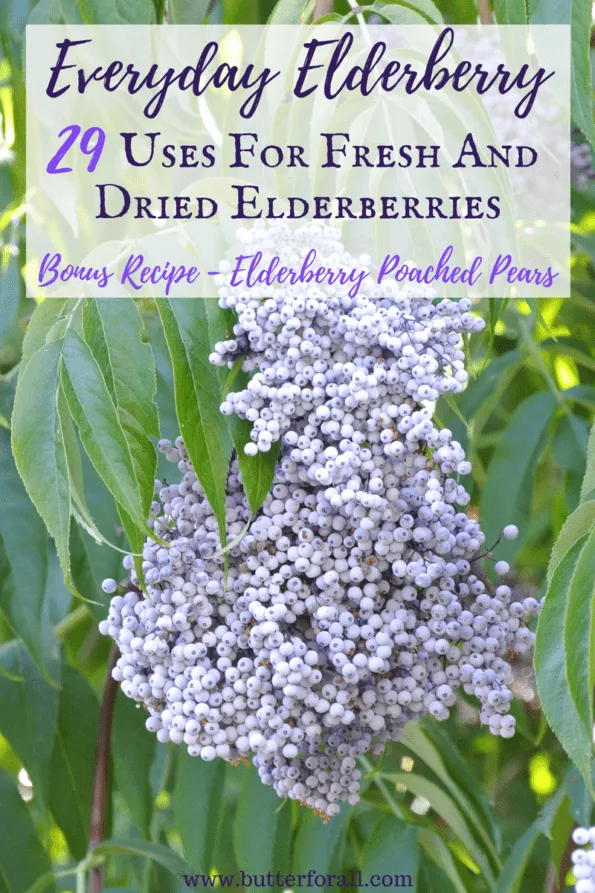
I got extra lucky this year with a neighbor who doesn’t collect the elderberries from her enormous bushes (that look more like trees)! I left a polite note at her door asking if I could pick them. She responded and I was granted access to trees that are over 60 years old, over 30 feet tall, and produce hundreds of pounds of elderberries annually. So naturally I got to work creating a huge resource of how to use elderberries in everyday applications.
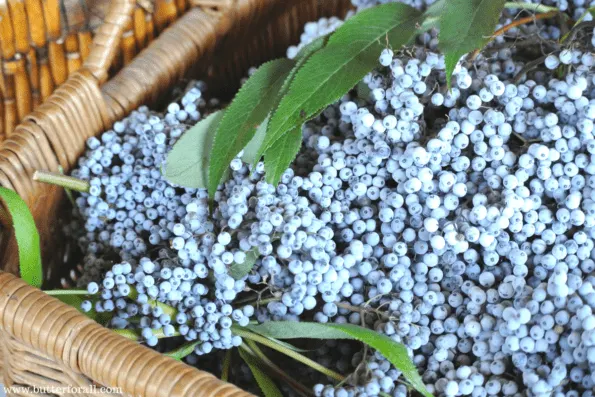
Elderberry Facts
While researching elderberries I came across a valuable resource, a paper called Elderberry as a Medicinal Plant, written by D. Charlebois (2007). Following is some of that information summed up.
Elderberry has been utilized in America, Europe, Asia, and Africa as a food source, for spiritual and ritualistic purposes, and as a medicinal plant for countless centuries. Elderberry continues to gain popularity in the modern world for similar uses.
From a comparison of elderberries to strawberries, cranberries, blueberries, grape, mulberries, and raspberries, elderberries rank the highest in vitamin C, vitamin B6, vitamin A, iron, and phosphorus. But that’s not all the health benefits these little berries can claim. Elderberries contain phenolics, anthocyanins, and flavanols, all of which accelerate antioxidant activity. And when compared to the same fruits as before, the mighty little American elderberry outperforms the rest in antioxidant capacity, sometimes as much as 3:1! Antioxidants are used by our body to protect us from harmful free radicals that can lead to cancer.
According to Norm’s Farms, one of the most established American elderberry farms, there are several species of edible elderberries. But elderberries must be prepared correctly in order to be enjoyed safely. The toxic stems and leaves of the elderberry can be harmful if consumed. Only ripe berries of the blue or black variety should be eaten, with a focus on proper preparation. Proper preparation of the berries consists of carefully de-stemming the berries and cooking them thoroughly.
This high-vitamin, high-antioxidant berry can help boost your immunity, keeping you sniffle free and feeling great. This fact is what has elevated the tiny elderberry to be a fall and winter superfood.
From making healing syrups to using them in medicinal tinctures, alcohols, and even treats, elderberries have a lot to give to the modern forager, homesteader, and cook.
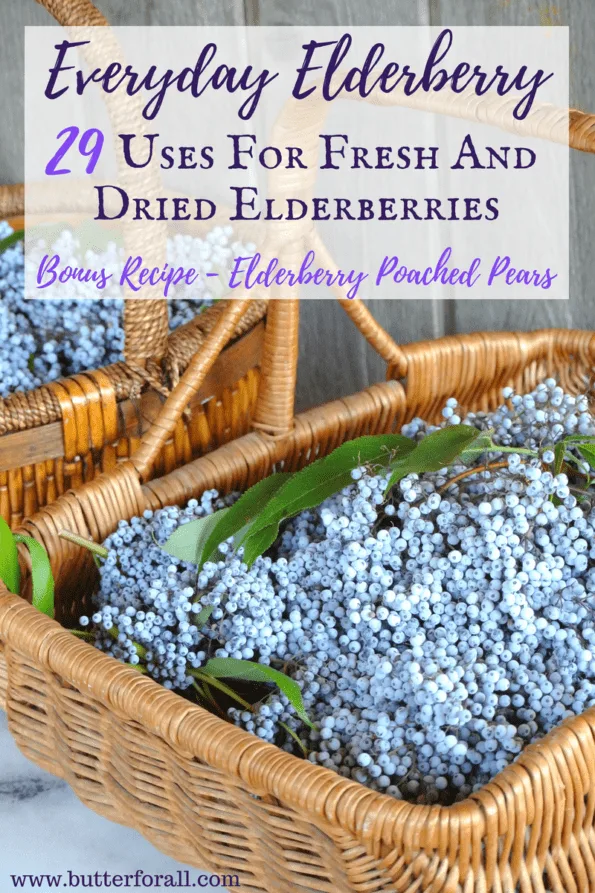
Harvesting, Storing, and Cleaning Elderberries
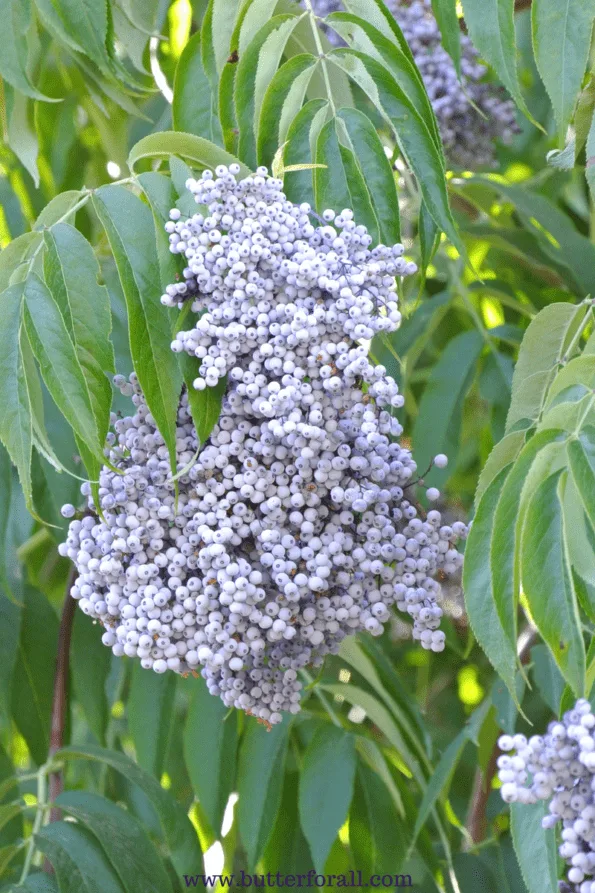
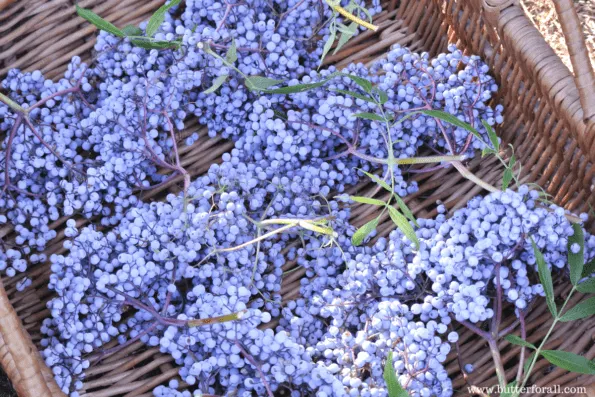
Elderberries Grow in Clusters
Harvesting elderberries is actually pretty easy. You just snip the ripe clusters from the bush. Pole cutters can come in handy if they are too high to reach.
The Elderberry Freezer Trick
Like I said I got really lucky this year, and I harvested about 25 pounds of fresh elderberries. That meant I had to find a way to de-stem, clean, and store all those berries. After reading through the comments on an online forum, I picked up a helpful tip. Freeze the elderberries on the stem! This was the perfect solution to my storage and de-stemming problems. I piled the elderberry clusters into grocery-sized brown bags, made room in my freezer by removing a whole slew of stuff that needed to be used up, and left my berries to freeze solid. A few days later when I had the time to take on the massive project, the little berries resembled BBs more than berries and they nicely knocked off the stem.
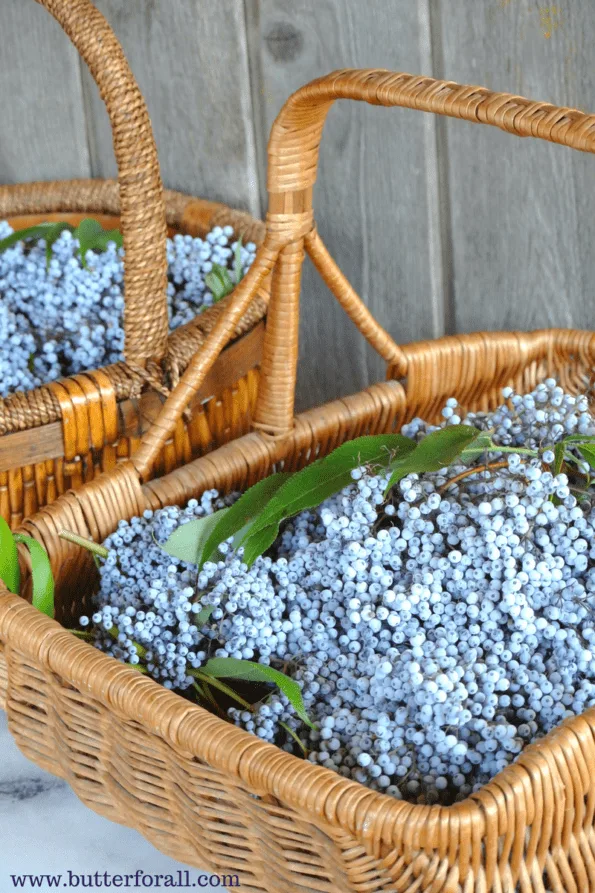
Once your berries are frozen, remove the clusters from the freezer (working a few at a time so they don’t defrost) and gently massage the berries off the stems into a large bowl. Fill freezer bags with the frozen berries and place them back into your freezer for long-term storage.
Cleaning the Elderberries
I waited until I was ready to use the frozen berries to wash them. I didn’t want to freeze them wet or wait for them to dry so they went in the freezer unwashed. It actually works out really well this way — when you are ready to use the berries you can remove them from the freezer and let them defrost slightly in a bowl. Add some lukewarm water and stir the berries gently with your hand. Any little bits of stem, blossom, or green berries will float to the top of the water and are easily skimmed away with a handled strainer.
How To Use Elderberries — Elderberry Recipes by Category
Elderberry Syrups
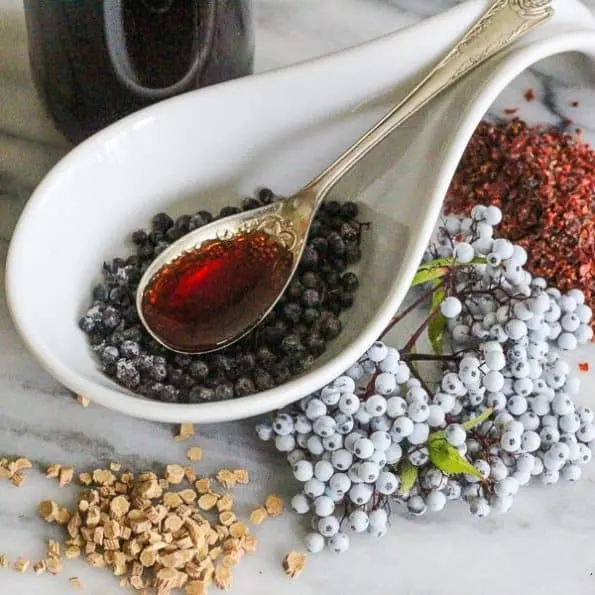
Photo Courtesy of Nitty Gritty Life
1. Elderberry Immunity Syrup With Rose Hips & Astragalus – Nitty Gritty Life
2. Easy Homemade Elderberry Syrup – low carb & AIP – Whole New Mom
3. Homemade Elderberry Syrup – Delicious Obsessions
4. How to Make Elderberry Syrup with Fresh or Dried Elderberries – Common Sense Home
5. DIY Elderberry Syrup – Studio Botanica
6. Elderberry Syrup Elixir Recipe – Full Of Days
7. How To Make Your Own Elderberry Syrup – Creative Green Living
8. How to Make Elderberry Syrup – Homestead Honey
9. Elderberry Syrup Plus – The Pistachio Project
10. Elderberry Syrup Recipe For The Instant Pot – Eating Richly
11. Instant Pot Elderberry Syrup – Simply Happy Foodie
12. Immune Boosting Elderberry Oxmel – Practical Self Reliance
Elderberry Gummies
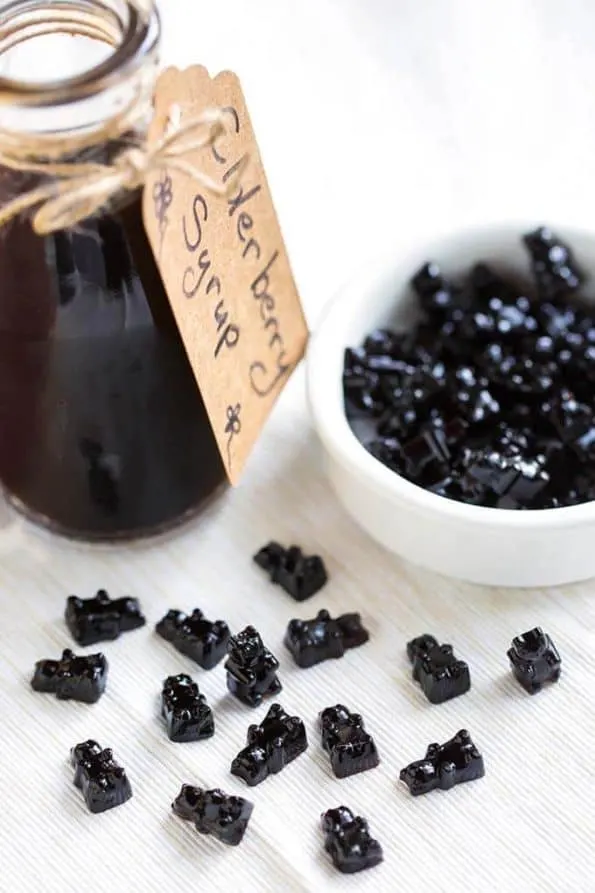
Photo Courtesy of Simply Happy Foodie
13. Elderberry Syrup Gummies – Simply Happy Foodie
Elderberry Tinctures & Tonics
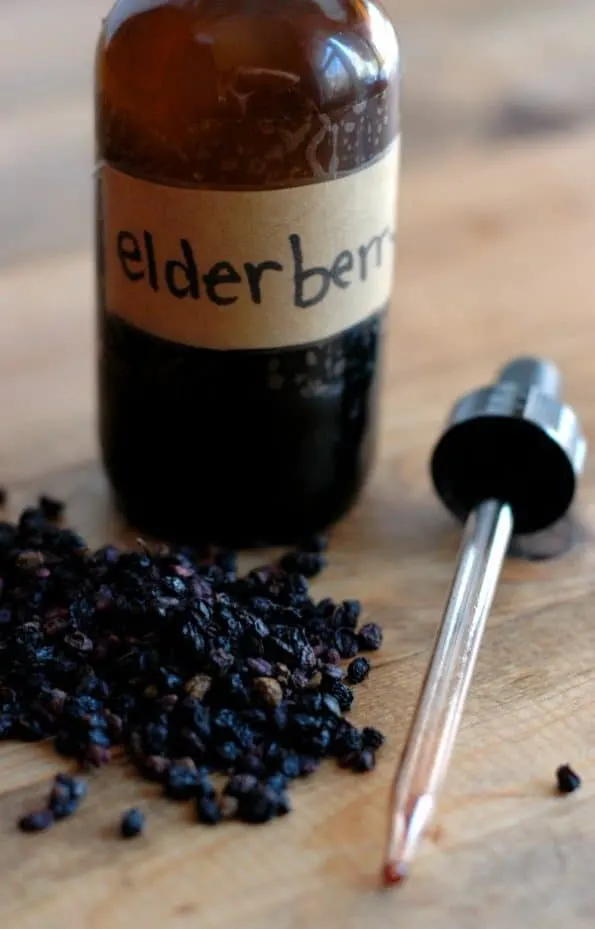
Photo Courtesy of Raising Generation Nourished
16. How To Make Elderberry Tincture – Raising Generation Nourished
17. Heal Thy Self: Elderberry Tincture With Ginger – Nitty Gritty Life
18. Immune-Boosting Elderberry and Rose Hips Tonic – Delicious Obsessions
Elderberry Alcohol & Other Drinks
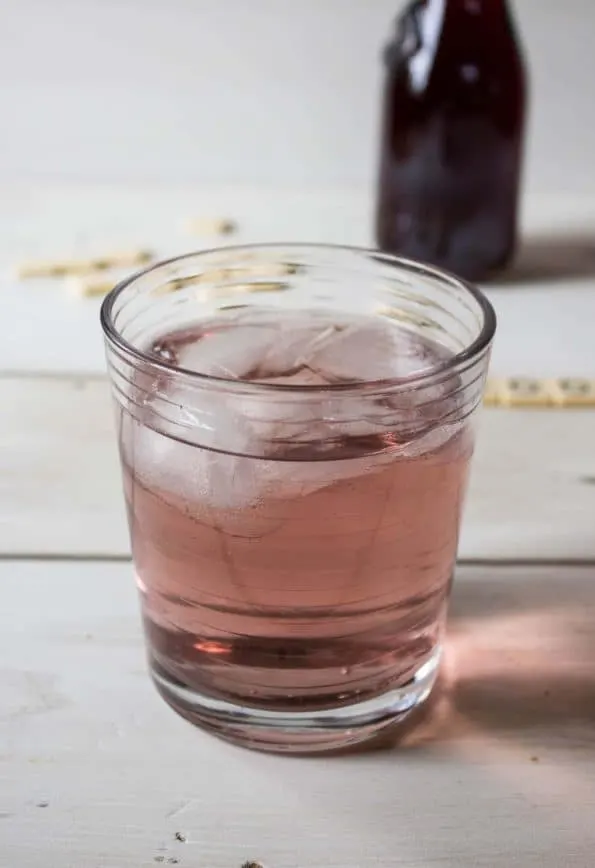
Photo Courtesy of Beyond The Chicken Coop
19. Elderberry Vodka – Beyond The Chicken Coop
20. How to Make Elderberry Wine and Identify Wild Elderberry Bushes – Common Sense Home
21. Small Batch Elderberry Mead – Practical Self Reliance
22. Magic Potion (with Elderberry, Mullein, Horehound, And Star Anise) – The Wondersmith
23. Reusing Elderberries to Make Elderberry Tea – The Pistachio Project
Elderberry Jam and Jelly
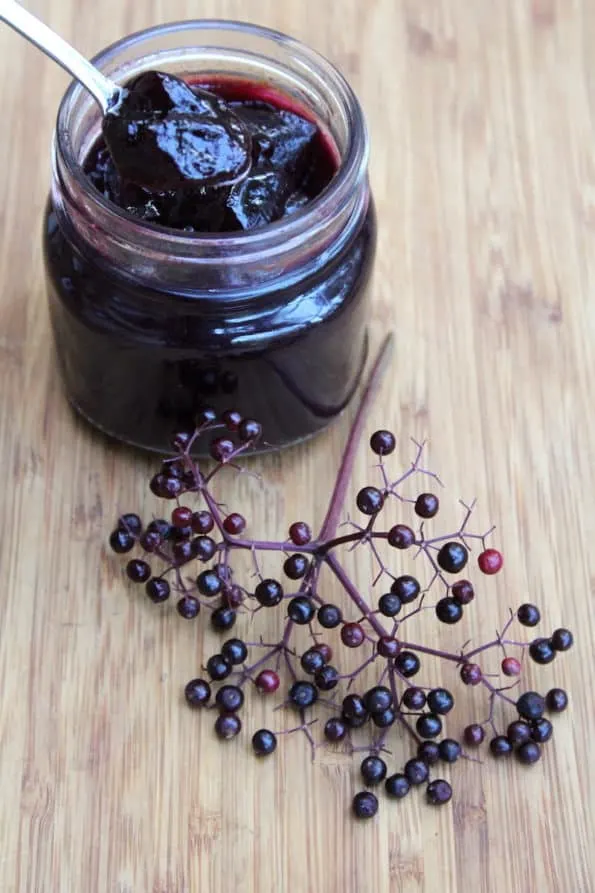
Photo Courtesy of Practical Self Reliance
24. Elderberry Jelly Recipe For Canning – Practical Self Reliance
25. Elderberry Jelly Recipes – Low Sugar and Sure-Jell Options – Common Sense Home
26. Immune-Boosting Jam – Whole New Mom
Elderberry Treats
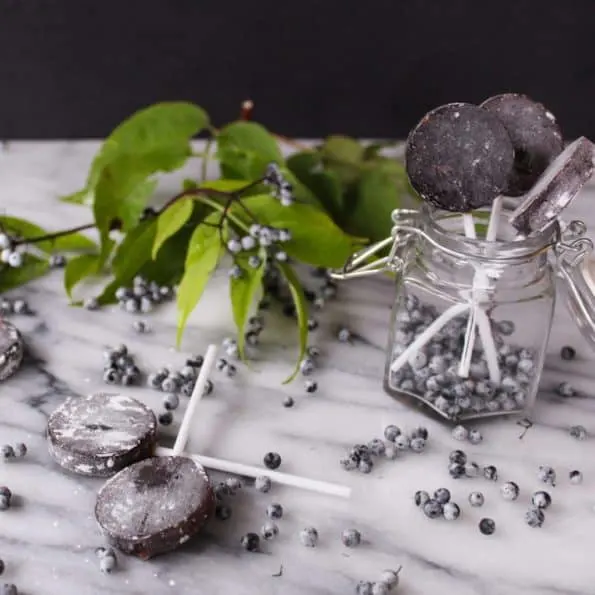
Photo Courtesy of Nitty Gritty Life
27. Soothing Cooling Elderberry Lollipops – Nitty Gritty Life
28. Elderberry Curd Mandala Tart As Equinox Meditation – The Wondersmith
29. Flu Fighting Popsicles – The Pistachio Project
Bonus Recipe
Poached Pears With Elderberry Syrup
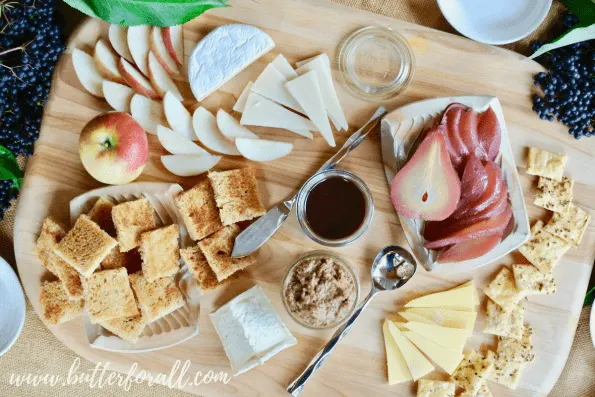
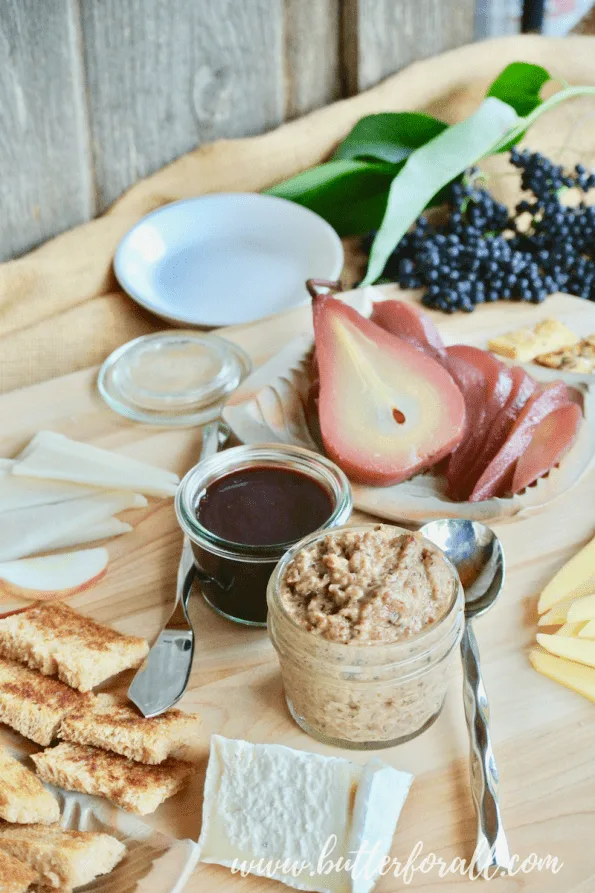
Fresh Elderberry Poached Pears
When you have elderberries and you have pears, then you poach! I used fresh elderberries, a little honey, and warm spices to create an exotic poaching liquid for pears. The poaching liquid is then reduced down to make an elderberry syrup. The pears and syrup can be served on an elderberry-inspired cheese plate with my Rustic Sourdough Butter Crackers, with real Vanilla Ice Cream, or with any other deliciousness you can dream up!
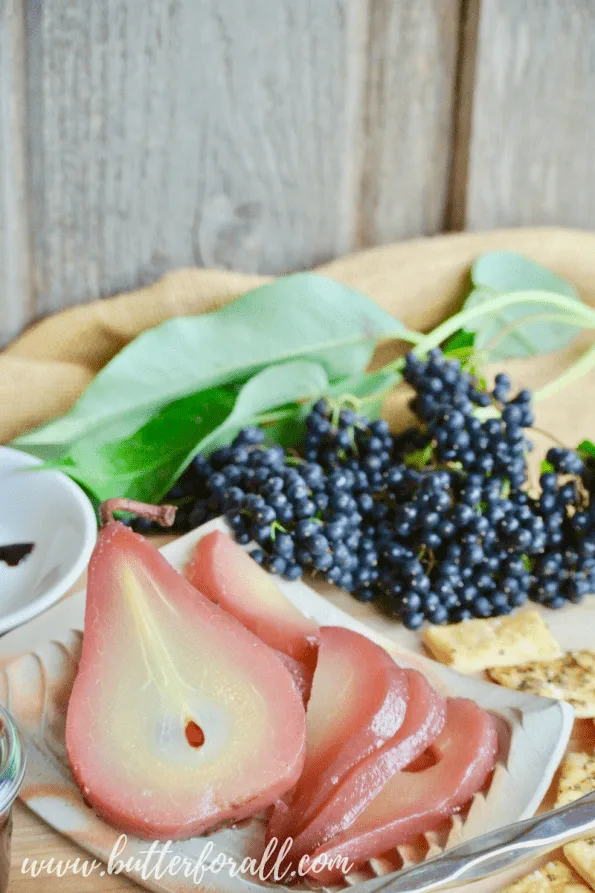
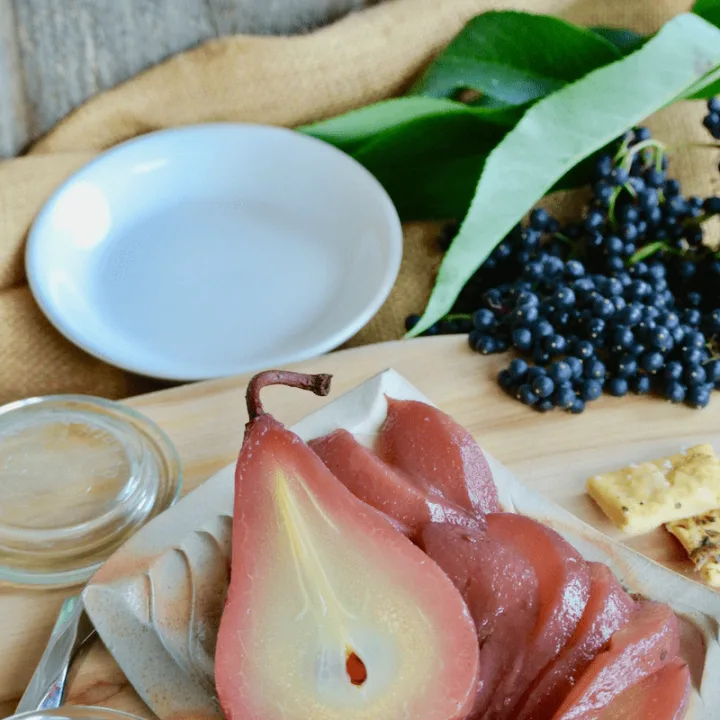
Elderberry Poached Pears
This is a great way to get more out of your freshly harvested elderberries. You will get delicious elderberry poached pears and an elderberry syrup to serve alongside or to keep for immune boosting throught the season!
Ingredients
- 4 cups (1 pound 6 ounces) fresh elderberries
- 3 cups filtered water
- 3 tablespoons raw honey or organic cane sugar
- 1 tablespoon ground ginger
- 1 teaspoon ground cinnamon
- 1/2 teaspoon ground cardamom
- 1/4 teaspoon ground cloves
- 1/2 vanilla bean, split in half
- 5 large Bosc pears
Instructions
- Combine all the ingredients except the pears in a large sauce pan.
- Stir it well and then bring this mixture to a boil.
- Turn the heat down and simmer the berries for 10 minutes.
- Meanwhile, peel the pears and rinse them under cold water.
- After the berries have simmered, add the whole peeled pears and continue to simmer the whole pot for about 30 minutes.
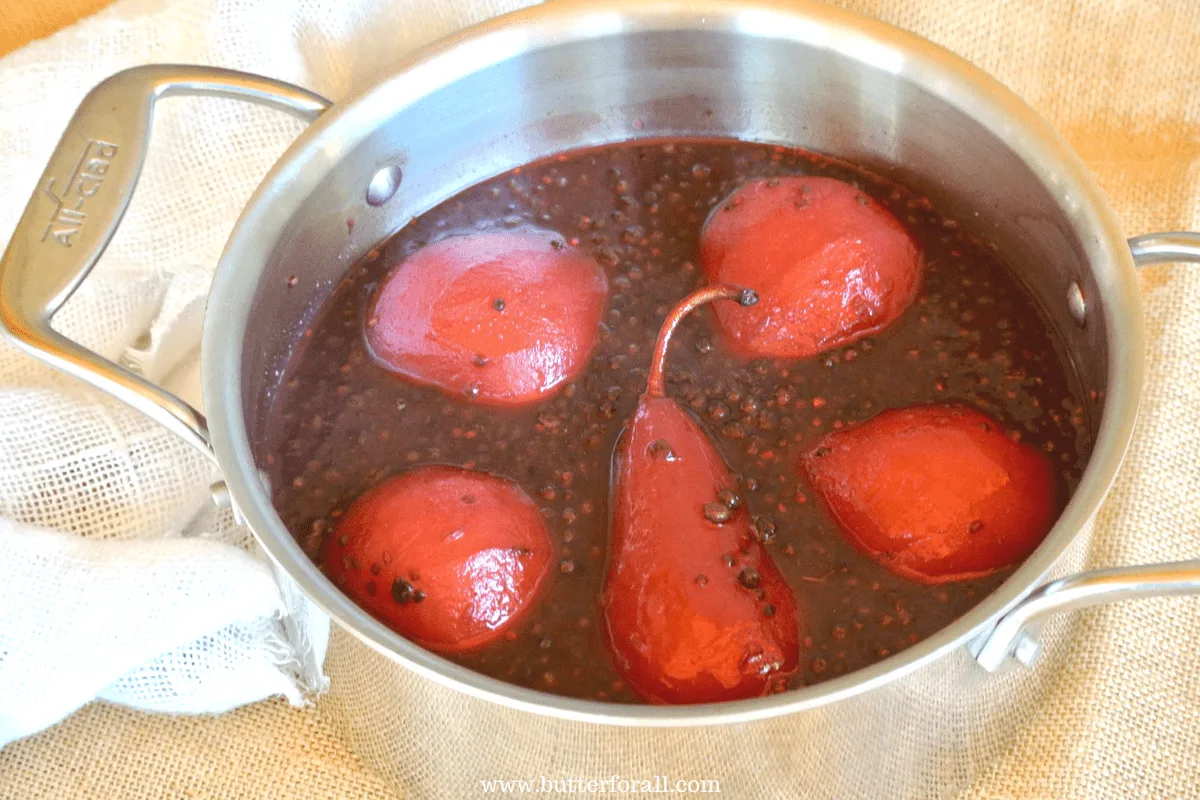
- Remove the pears from the pot and set them in a clean dish to cool.
- Pour the elderberry mixture through a fine mesh strainer over a bowl to catch the liquid.
- Using the back of a ladle, mash the elderberries, trying to get as much liquid and pulp into the bowl as possible. The seeds and skins can now be composted.
- Return the liquid to the pot and bring it to a boil. Gently boil the liquid until it is a syrupy consistency, about 15 to 20 minutes.
- Remove the pot from the heat and let it cool to room temperature. Taste the syrup and sweeten it with more raw honey as desired.
- Put the syrup in a clean glass jar and store it in the refrigerator. Use the syrup within a week or freeze it to extend the shelf life.
Notes
Serve the pears over ice cream and drizzled with the poaching liquid syrup. Or serve the pears alongside your favorite cheeses and charcuterie.
Nutrition Information:
Yield: 10 Serving Size: 1 gramsAmount Per Serving: Unsaturated Fat: 0g
Do you have Elderberry Flowers?
Carol from Studio Botanica has written a useful guide on Elder Medicine highlighting exactly how to make elderflower infusion.
Sources:

Richard Millhouse Nixon
Saturday 31st of August 2024
Chef, According to Yaakof, freezing fruits and vegetables helps break their cell walls. . Apparently, cell walls in plants are extremely difficult for the human digestive system to break down and extract their nutrients. . Apparently, as we age past about 30yo, our digestion progressively weakens. Although supplementing with HCL is supposed to help digestion, I think freezing is just the boost I could use. . . s, Ron your student from Natural Grocers
Butter For All
Friday 6th of September 2024
Hi Ron!
That's true with meat as well. Freezing breaks down the cell walls in any natural substance if there is liquid involved because the water expands when it freezes, forms crystals, and punctures those cells. It's an interesting idea, and worth exploring! Let me know if you notice any big improvements.