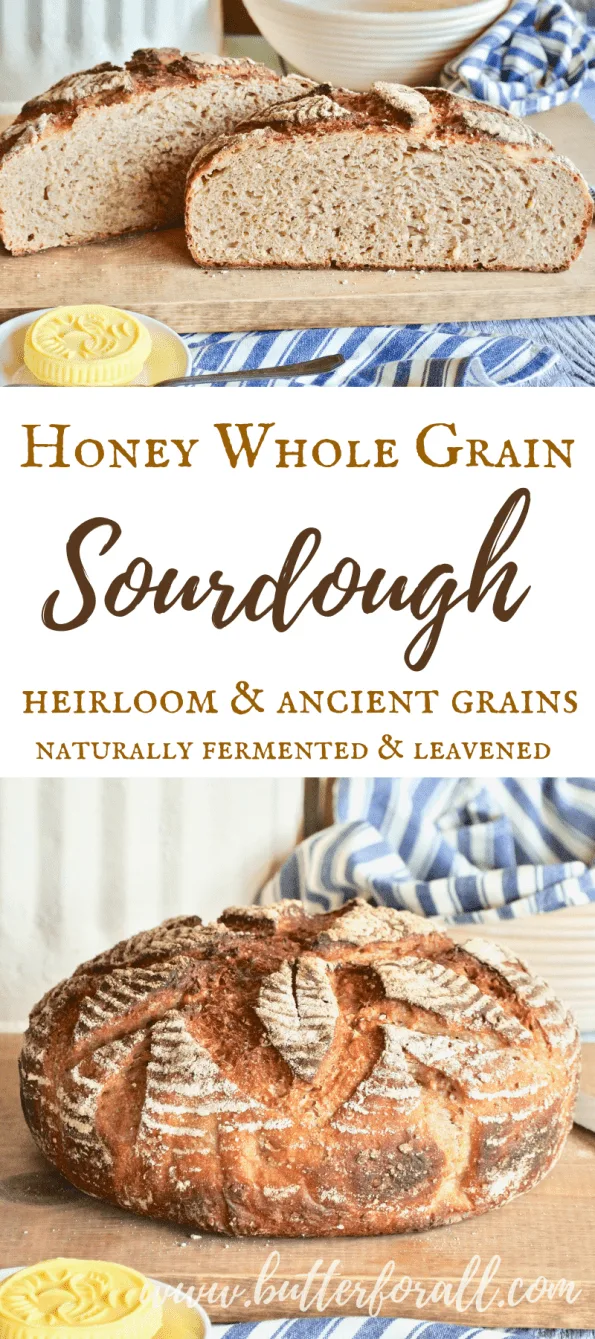
I’ve been baking whole wheat bread since the beginning of my sourdough journey.
In fact in culinary school I developed a recipe for honey whole wheat sourdough bread. I called it Market St. Sourdough because I was living near Market St. in Santa Cruz at the time. I got an A on that project but that bread was nowhere near the bread perfection I’m making today! This was a long time before I really understood the technique of bread shaping and the consistency achieved when you weigh your ingredients.
Recently I sat down and took some extra time to write down everything I know about sourdough bread. It turns out I know quite a bit and all of it is self-taught. You get to skip the 15 years of trial and error and have all my knowledge in one handy guide:
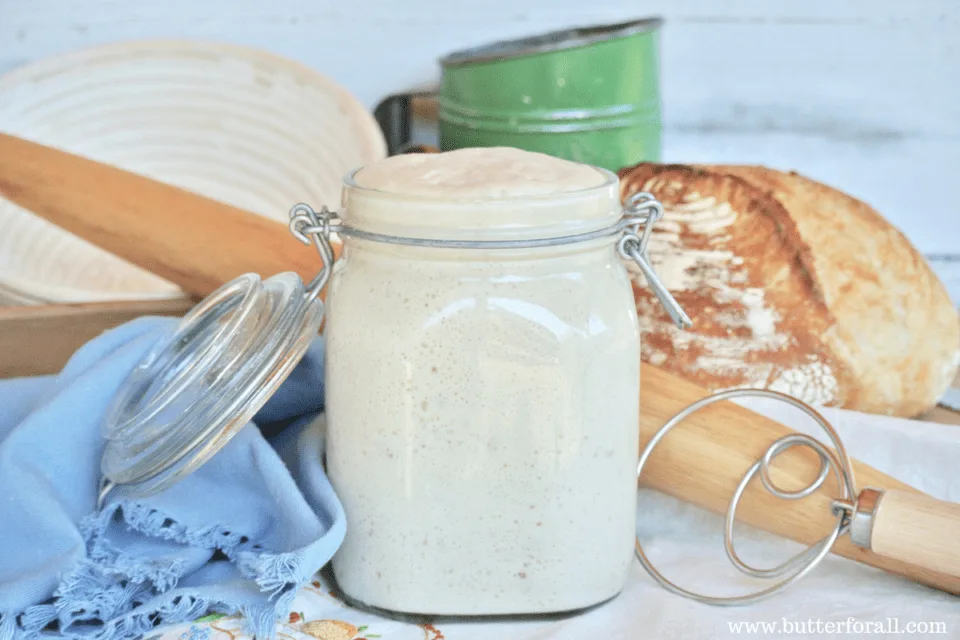
Demystifying Sourdough – Everything You’ve Ever Wanted To Know About Sourdough Starter – Why It’s Better for You – And How To Start One
The Grains That Make This Loaf Special
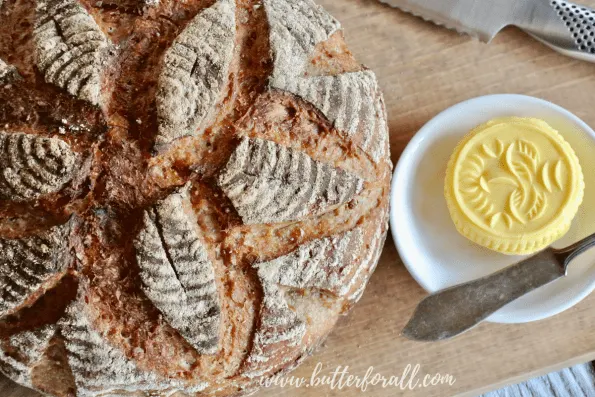
Not only do I use several different flours in this recipe, I also use some cereal-style grains that are a blend of Purple Karma barley, white barley, triticale, hard red wheat berries, soft white wheat berries, rye berries, and spelt berries. The other unique addition to this bread is whole rolled grains like oats, rye flakes, or einkorn flakes. These chunky cereal grains give the bread a chewy wholesome texture and appearance.
Buying Milled Grains Versus Milling Your Own
I’m really lucky to live in an agricultural area that supplies me with a wonderful selection of organically grown, stone-milled whole gains. I honestly don’t really have any need to mill my own grains at this time. To order the grains that I use in my baking you can visit Camas Country Mill to order direct.
But if I didn’t have access to really freshly milled flour then I would consider buying a grain mill. Hopefully someday I will have the space and money to afford this beauty.
Making Great Bread Is All About Technique
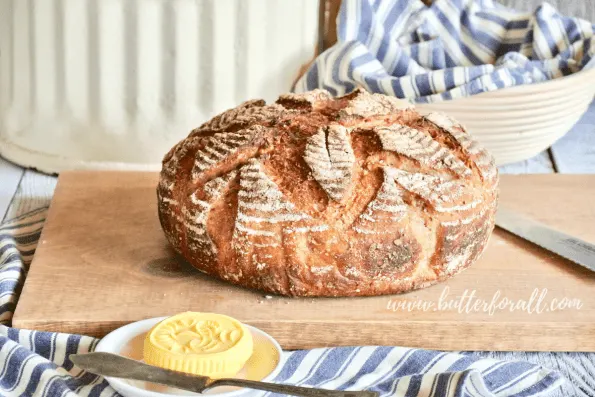
I’ve spent a lot of time perfecting the technique for my artisan-style sourdough boules. It’s a process that looks and sounds intimidating but is actually really easy once you get the hang of it.
Luckily for all of you, I’ve documented all the steps in a handy recipe guide that even includes a video! Before you begin with this Honey Whole Grain Sourdough recipe please see How To Bake the Perfect Sourdough Boule in Your Dutch Oven – Recipe + Video Instructions
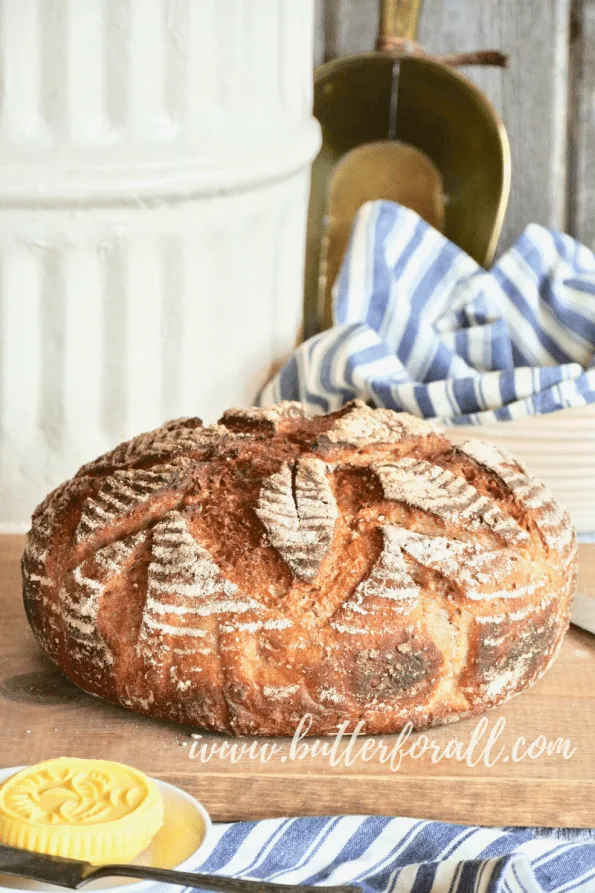
A Long Warm Fermentation
Because of the nature of whole grains, a little extra warm fermentation time is required. Grains are seeds and have some undesirable characteristics. Seeds contain phytic acid and enzyme inhibitors in their outer bran. These substances help protect the seed until germination. But they also make grains super hard to digest and stop our bodies from absorbing the nutrients in grains. The awesome thing about sourdough is you can neutralize these substances with the lactic acid produced during the fermentation process. For this reason I like to ferment this dough at room temperature for at least 10 hours before shaping.
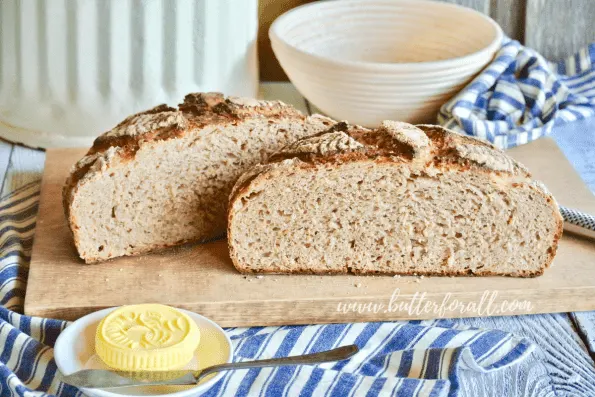
Give Yourself Plenty of Time
This sourdough needs around 16 hours of fermentation time. Plan ahead and give yourself plenty of time. I like to start my dough in the afternoon and then let it ferment overnight. The next morning I shape the dough and let it rise again. This can be done at room temperature if you want to bake it earlier in the day or in the refrigerator if you need to put baking on hold for a while.
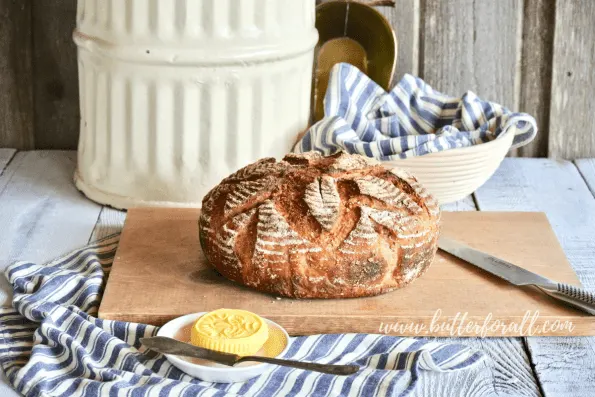
Getting Things Ready for Baking
The 7 most important tools used in my own kitchen.
Click on the photo to be taken directly to the product I recommend.
- Baking scale
2. Covered bowl for mixing and proofing
3. Dough whisk or wooden spoon
4. Banneton
5. Parchment paper
6. Bread lame for scoring
7. Dutch oven or fancy bread cloche
And most importantly, a healthy happy starter!
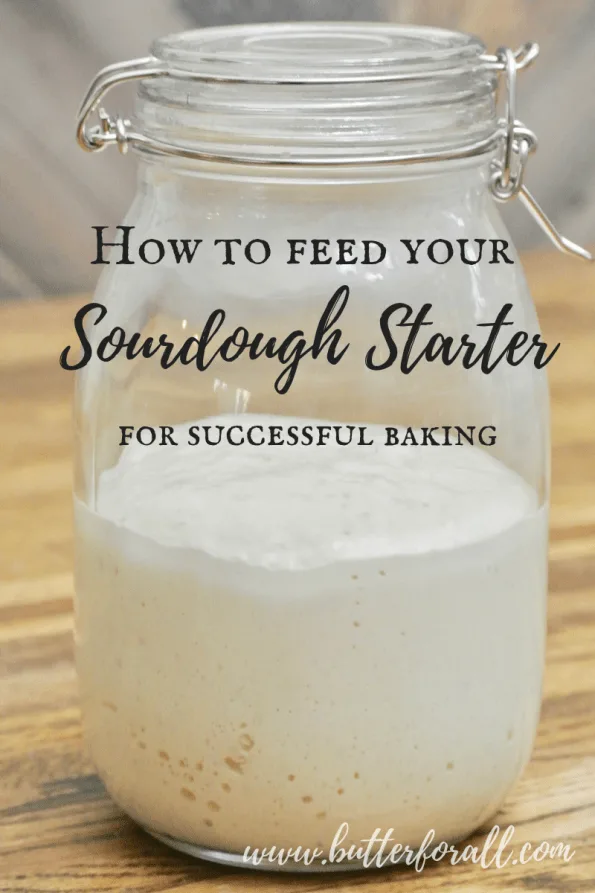
Learn how to feed your starter for optimal performance and successful baking in my easy visual guide,
How To Feed Your Sourdough Starter for Successful Baking
Now You Are Ready To Bake!
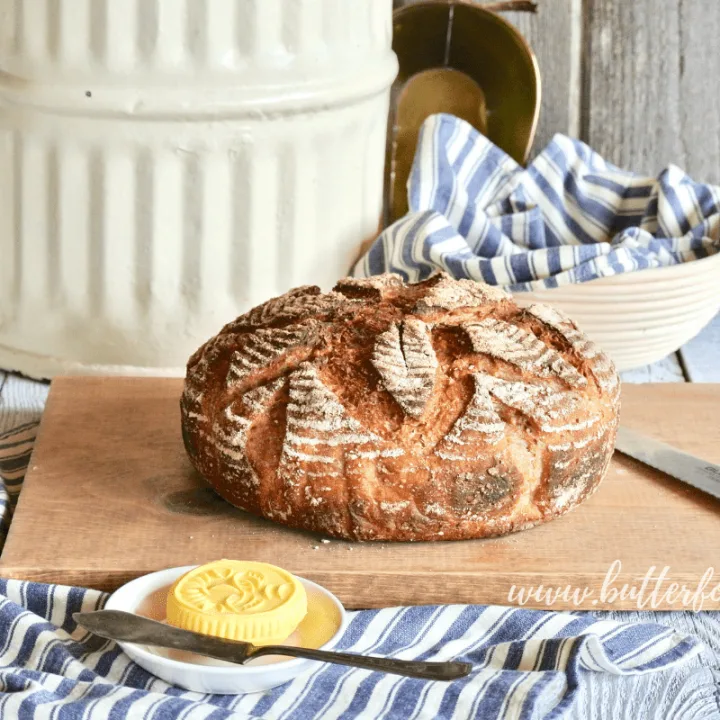
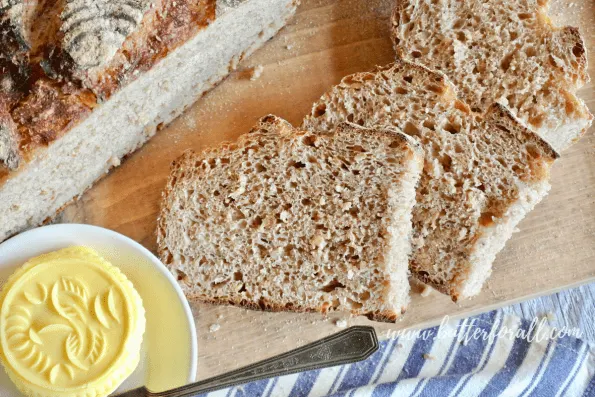
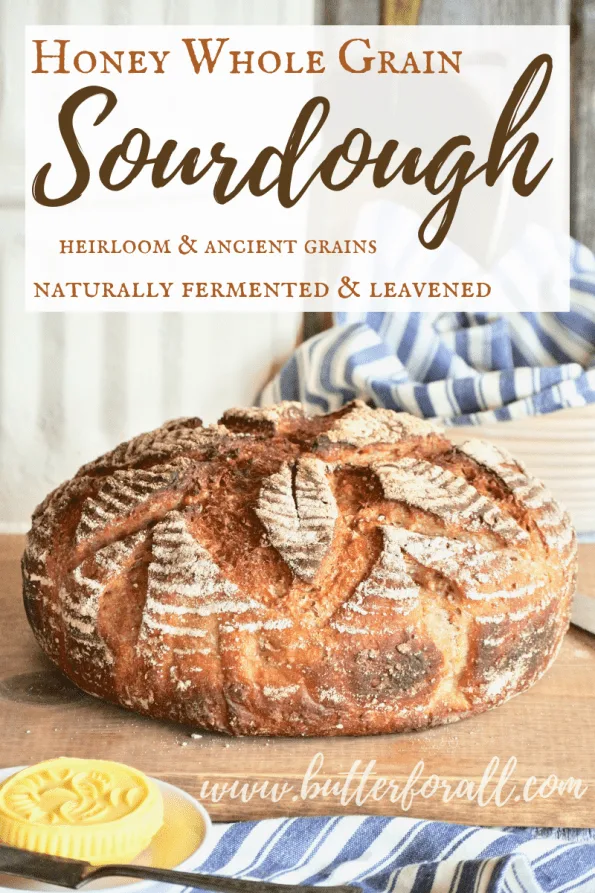
Honey Whole Grain Sourdough Bread
This soft and chewy honey whole grain sourdough loaf is naturally leavened, sweetened with a touch of real honey, and studded with malty whole grains.
Ingredients
- 250 grams (1 cup) sourdough starter at 100% hydration, stirred down
- 240 grams (2 cups) organic Triple 200 whole wheat flour
- 120 grams (1 cup) organic spelt flour
- 120 grams (1 cup) organic emmer flour
- 90 grams (1/2 cup) organic 7 grain cereal
- 70 grams (1/2 cup) organic einkorn flakes
- 76 grams (1/4 cup) raw honey
- 14 grams (2 teaspoons) salt
- 400 grams (1 3/4 cups) filtered water
Instructions
The day before baking:
- Combine all ingredients in a large glass bowl and stir them into a shaggy dough.
- Wet your hands and knead the dough in the bowl until it comes together and all the ingredients are well incorporated. Let the dough rest for 10 minutes.
- Wet your hands and start the stretch and fold process. Stretch and fold the dough in at least four directions. Let the dough rest for 10 minutes.
- Repeat the stretch and fold process up to six more times, resting the dough for at least 10 minutes in between.
- Cover the dough and let it ferment overnight or for at least 8 hours.
The next morning:
- Wet your hands and do a single round of stretch and fold in the bowl to remove the gasses and "punch down" the dough. Let the dough rest for 5 minutes.
- Prepare your banneton with a coating of non-glutinous flour. I use sprouted whole wheat.
- Remove the dough from your bowl to a work surface. Dampen your hands and shape the dough into a tight round ball. For video instructions click here.
- Rest the dough seam side down for 5 minutes.
- Transfer the dough to your prepared banneton seam side up. Sprinkle the seam side with flour and cover the banneton securely.
- Let the dough proof until almost double and cresting the banneton basket. This step can be done at room temperature (usually 2 to 4 hours) or in the refrigerator (4 to 12 hours).
- Preheat your oven to 450°F. Place your Dutch oven in the center of the oven to preheat.
- Transfer the proofed dough to a piece of parchment paper by placing the paper over the basket and inverting it.
- Score the dough with a sharp razor.
- Once preheated, remove the lid of the Dutch oven, lift the dough by the paper, and set it in the Dutch oven.
- Cover the Dutch oven and bake for 25 minutes undisturbed.
- Remove the Dutch oven lid and continue baking for 15 minutes.
- Remove the Dutch oven from the oven and lift the boule out of the oven by the paper. Remove the parchment and cool the loaf on a wire rack.
- Wait for the bread to completely cool before cutting!
Pro Tip
If you are baking in an electric or gas oven with a bottom heating element, always use a baking stone, pizza stone, cast-iron griddle, or cast-iron frying pan on the rack below your Dutch oven! Position the Dutch oven directly above the barrier pan or stone; this will help keep the bottom crust from getting too dark!



Cathy
Thursday 12th of January 2023
My first rustic style sourdough. Wish I could add a picture! I followed the directions exactly. It was a sticky dough but it baked up perfectly. Great taste and crumb. I will definitely be making this one again!
Butter For All
Wednesday 18th of January 2023
Hi Cathy!
Great News! I'm so happy to hear your success story!! You can always email photos to courtney@butterforall.com I love to see them and share them on social media!
My best to you!
Karen
Sunday 18th of September 2022
I made Honey Whole Grain Sourdough Bread and the dough was very wet. It rose beautifully. It actually stuck to the banneton lining though and spread flat when I got it out onto the parchment I'm assuming because it was too wet. I was not able to score it with the lame. Baked nicely and is delicious. I want to try again just not sure what went wrong.
Karen
Tuesday 20th of September 2022
@Butter For All,
Thank you for your response. I will definitely give that a try. The bread is delicious. Eating it anyway it is a little flat.
Butter For All
Sunday 18th of September 2022
Hi Karen,
You didn't do anything wrong! Try adding a little flour during mixing and kneading, just until the dough feels easy for you to work with. You can never really mess up a recipe too badly by adding a little flour or water. Hope that helps!
Courtney