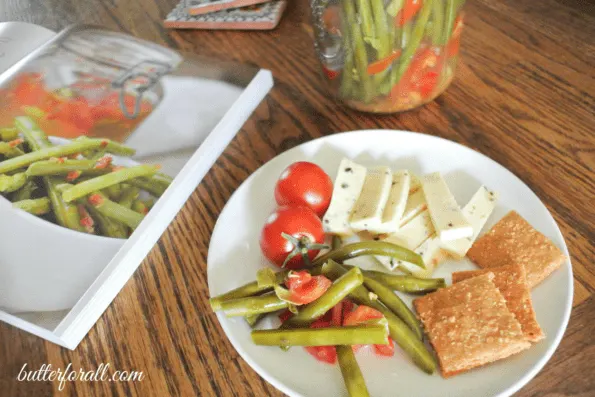
I just sat down to a nice little lunch featuring these amazing pizza green beans.
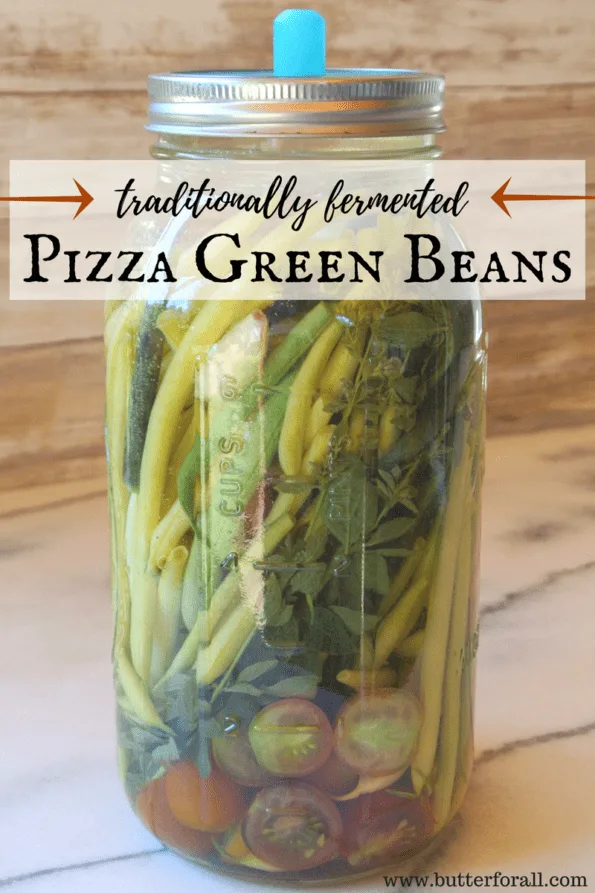
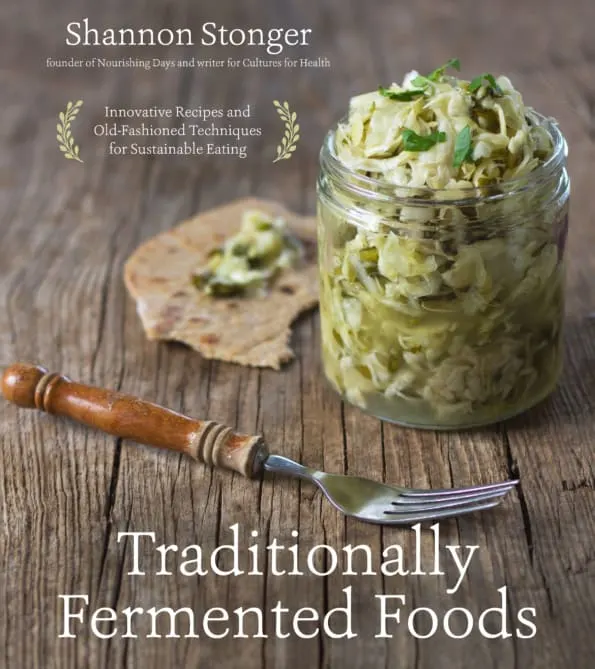
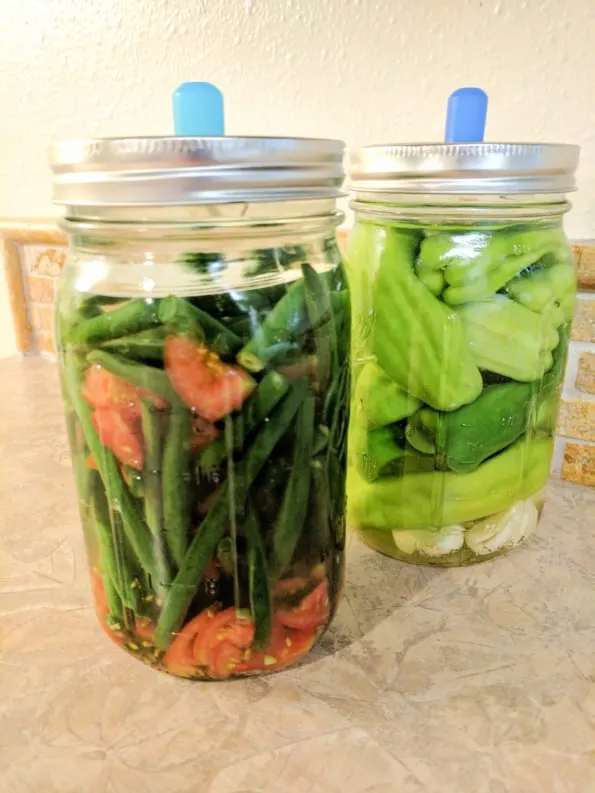
They have been hanging out on my counter for the last 10 days traditionally fermenting with garlic, tomato, and oregano. I will officially tell you I’m in love! I’m not even a huge fan of green beans but when I saw them at my local organic farm stand I instantly remembered the recipe from Shannon Stonger’s new book Traditionally Fermented Foods. Just take a look at this beautiful book! It’s a masterpiece.
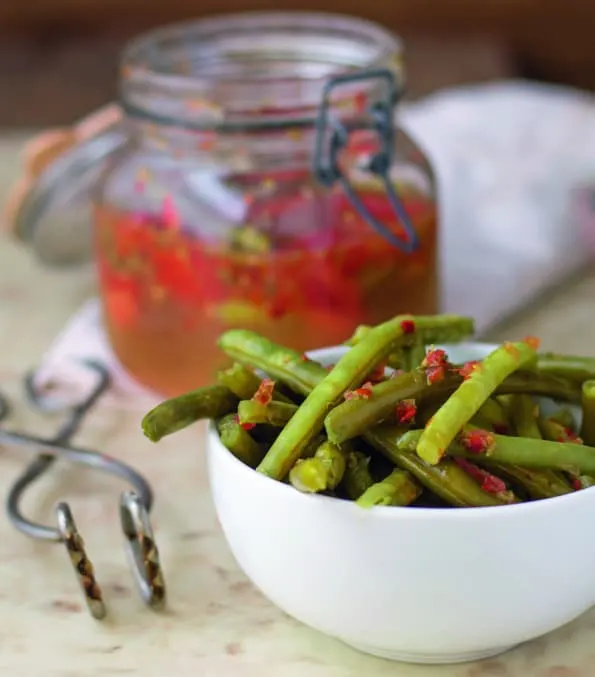
Photo credit: Shannon Stonger
Disclaimer: I received an advance copy of this book for review consideration. This post also contains affiliate links. Please visit my policies page for more information on my affiliates.
What You’ll Learn in This Book.
The book is separated into six chapters starting with The Basic Fermentation Process, which covers Fermented Foods in Food Preservation, Fermented Foods as Medicine, Culture Care and Best Practices, Troubleshooting Mold, and more.
The second chapter is where I will be spending a lot of time, Vegetables. With tips and recipes like The Science Behind Lactic Acid Food Preservation, Taco Kraut, Everyday Spicy Carrots, Triple Fermented Potato Salad, and so much more.
The third chapter covers Grains. It has 30 different tips and recipes for healthy fermented grains, starting with Sourdough: The Nutritional, Sustainable Way Forward. Shannon also gives us recipes like Wheat Sourdough English Muffins, Wheat Sourdough Crescent Rolls, Seasonal Fruit Fermented Muffins, Gluten-Free Sourdough Seeded Country Loaf, and many more!
The fourth chapter is Dairy (you know my fav)! Shannon again blesses us with another 30 informative tips and recipes like How Dairy Fermentation Works, Kefir: The Star of My Homemade Kitchen, Simple Homestead Feta Cheese, Fruit and Yogurt Mousse, Cultured Butter, and Traditional Buttermilk.
The fifth chapter is Beverages, and here Shannon leads us into some unchartered territory with 15 recipes like Sourdough Bread Kvass, Fermented Horchata Concentrate, and Carrot-Clementine Kvass.
In the final chapter we get introduced to all the wonderful fermented Condiments in Shannon’s arsenal. Recipes like Charred Onion Tomatillo Salsa, Fermented Pear and Ginger Sauce, Fermented Zucchini and Fruit Mostarda have my mouth watering and my mind spinning with fresh ideas.
So here is my review…
Go Buy This Book! Not only is Shannon Stonger a beautiful writer, she has opened up a whole new world of fermentation that will appeal to seasoned fermenters as well as beginners. I guarantee your whole body will thank you.
Now because I want to your see for yourself just how rad these Pizza Green Beans are I get to include the exact recipe from Shannon’s book!
I was extra excited to make them because I just got my new Mason Jar Fermentation Kit and could not wait to put it and this recipe to the test.
I’m not kidding you guys! These Mason Tops have completely changed my fermenting game! Less mess. Less worry. Less Time. BETTER FERMENTS! I’m never going back to my hokey old way of fermenting.
So how do Mason Tops work? Well, it’s really very easy.
Once you have your clean wide-mouth canning jars packed with your desired recipe, you add a Pickle Pebble. Pickle Pebbles are thick round glass weights that help keep your ferment submerged. Then you add the Pickle Pipe, a soft silicone lid that has a small vent that opens when enough pressure has built up in the jar. Lastly you screw down a traditional jar band and leave your jar out at room temperature to let nature take its course!
Buy both the Pickle Pebbles and Pickle Pipes together and save!
Without further ado, here is Shannon Stonger’s original recipe from her new book Traditionally Fermented Foods.
Pizza Green Beans
These pizza-inspired green beans have a great crunch and bold flavor. Serve them as you would a pickle at lunch, add them to a crudité platter, or chop them up for a flavorful salad addition. The brine is also delicious when paired with olive oil for an Italian-inspired salad dressing.
Makes: 1 quart (946 ml)
Fermentation time: at least 2 weeks
Storage Time: 2 to 12 months
5 grams (1 teaspoon) dried oregano
1 garlic clove, peeled
Approximately 200 grams (1 pint) green beans
2 small fresh tomatoes, diced
20 to 30 grams (1 1/2 to 2 tablespoons) salt (more in warmer temperatures)
Water as needed
Add the dried oregano and garlic to the bottom of a quart (1 liter) jar. Layer in half of the green beans and half of the diced tomatoes. Repeat with the remaining green beans and tomatoes up to the 3 1/2-cup (830-ml) mark on the jar.
Add the salt and pour in enough water to cover all of the vegetables. Add the fermentation weight of your choosing (page 33) and seal the jar tightly.
Place at cool room temperature (60 to 80°F [16 to 27°C], optimally) and allow to ferment for at least 2 weeks. If you haven’t used an airlock, then during this period, especially the first 5 to 7 days, you will need to burp the jars by quickly opening them to release the built-up gases that result from fermentation. To do so, carefully and quickly open the jar, listen for the release of gas, and close the jar back up with just a bit of the gases still remaining inside.
After at least 2 weeks, move the jar to cold storage or serve.
These will keep for several months at room temperature and 6 to 12 months in cold storage.


Shannon Stonger
Tuesday 31st of October 2017
I’m so glad you liked the book and those green beans are one of our faves too!
Butter For All
Tuesday 31st of October 2017
Hi Shannon! The book is beautiful and I want to try every recipe. You are a master of your craft! I ended up making another 1/2 gallon of the green beans because they were a huge hit with my 3year old. Unfortunately we are already down to the bottom of the barrel. I'll know for next year to make 2 gallons! Thank you for stopping by my blog. It's an honor. Courtney