Making this easy, probiotic, tangy labneh cheese is really as simple as straining some yogurt.
When you strain yogurt the whey is removed from the milk solids. This leaves you with a soft, spreadable, cream cheese-like product that can be added to recipes (like my Probiotic Blackberry Fool), eaten as a spread with roasted vegetables, fruit, or jam, or preserved in olive oil with herbs and spices. Labneh is a blank canvas just waiting for your imagination!
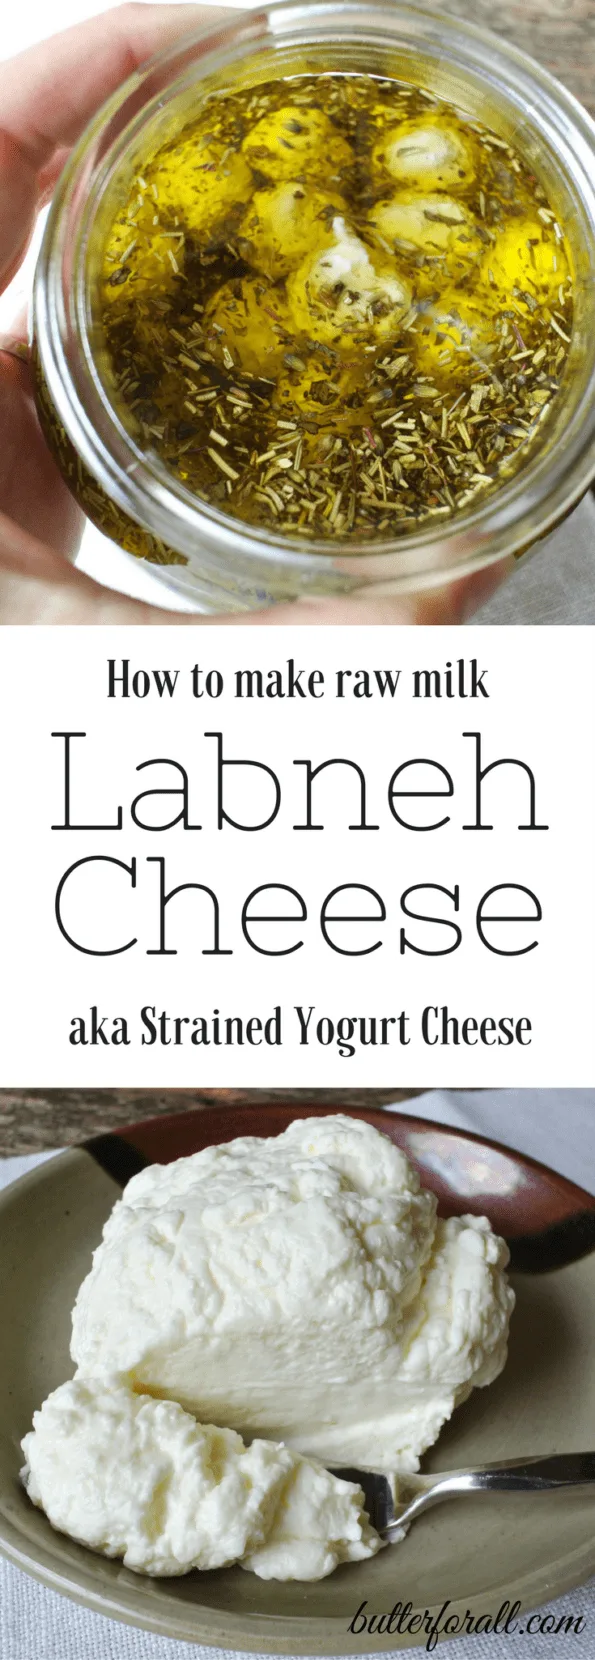
Don’t Throw Away That Whey!
You can use it to make my Healthy Probiotic Mayonnaise or to start any lacto-fermented project like pickles or sodas.
Although the Word “Labneh” Is Middle Eastern in Origin, Similar Strained Fermented Dairy Products Appear in Almost All Dairy Eating Cultures.
Many of these cultures ferment raw, unpasteurized milk from a variety of animals like cow, goat, sheep, and camel.
The length of time you strain the whey from a fermented dairy product and the fat content of the product will determine the consistency of the yogurt cheese. The more fat the dairy has the creamier the yogurt and yogurt cheese will be. The longer the yogurt drains the whey, the drier and firmer the yogurt cheese will be.
You Can Use Any Form of Fermented Milk To Make Labneh Cheese.
Kefir, clabber milk, and all the varieties and cultures of yogurt will make excellent labneh cheese.
In This Recipe I Will Show You How To Make a Raw Cow’s Milk Labneh Cheese.
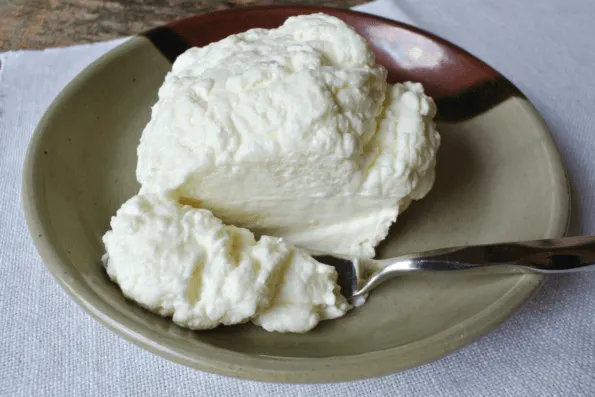
Supplies:
- Quart Jars.
- 1/2 Gallon Jars.
- Wooden Spoon.
- Organic Cotton Cheesecloth or Organic Cotton Bag (my choice).
First you will start with fresh, unpasteurized raw cow’s milk.
Then follow my directions for Easy Raw Cow’s Milk Yogurt. Once your yogurt is finished you can move on to making the labneh cheese.
Use 1 quart raw cow’s milk yogurt to yield 1 1/2 cups labneh and 2 to 2 1/2 cups whey.
Instructions:
Prepare a half-gallon jar by washing and air drying. Take a clean cotton bag and turn it inside out. You want the seams on the outside otherwise the labneh will stick to the seams and be difficult to remove. Slip the bag into the jar and pull the top edge over the mouth edge of the jar so it’s overhanging. Pour the yogurt into the bag while holding the edge so it doesn’t drop to the bottom. Gather the bag near the top and wrap it around a wooden spoon using the drawstring to secure it tightly. Rest the spoon across the top of the jar and refrigerate the labneh for 12 to 36 hours depending on how dry you wish it to be.
Alternatively, you can drain the whey in a colander lined with cheesecloth and placed over a bowl. I like the jar and bag technique as it saves space in the refrigerator!
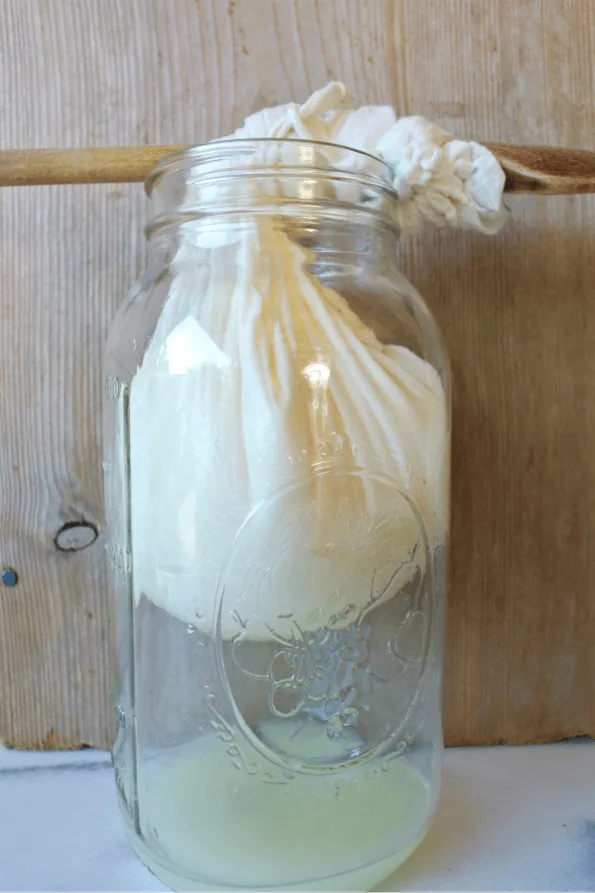
After 12 hours the cheese will be soft and spreadable and good for uses like baking, eating with berries, eating whipped, or as a dip.

After 24 to 36 hours the cheese will be semi-hard to hard and will be great for topping salads, rolling into balls to preserve in olive oil, adding to a cheese plate, and snacking.
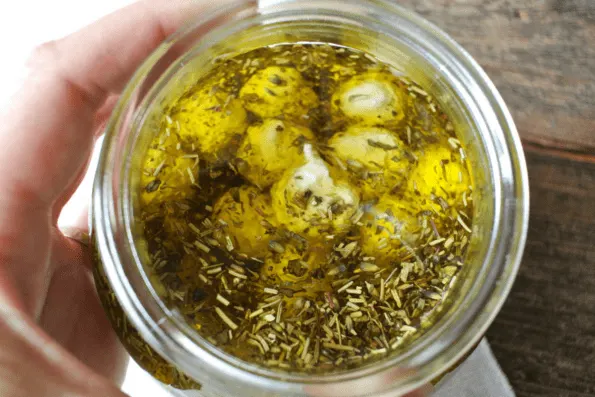
Once most of the whey has drained it will look like this.
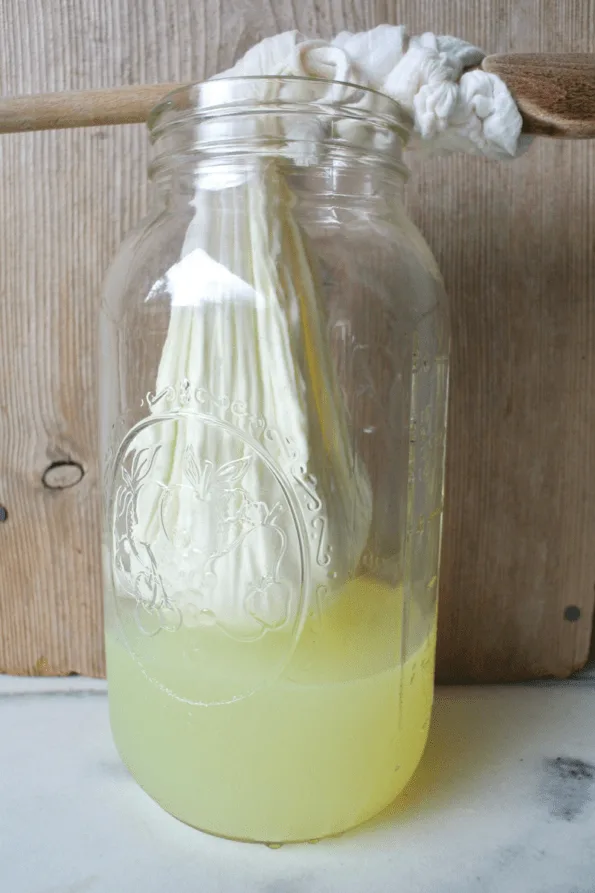
Take the labneh out of the cotton bag by turning the bag right side out over a bowl. I have to admit I like to snack on the very dry pieces of cheese that stick to the bag. Move the whey into a smaller jar for storage in the refrigerator. The whey can then be used to soak grains or start any lacto-fermented project.
Keep your labneh refrigerated and it should last 2 to 4 weeks.
One of my daughter’s first foods was little balls of soft, raw milk labneh cheese, which she loved!


Amanda
Wednesday 16th of March 2022
Thank you for the easy recipe! My whey is much milkier looking. Is that ok?
Butter For All
Thursday 17th of March 2022
Hi Amanda!
Totally normal. Sometimes the yogurt isn't quite as set up as it should be and the resulting whey will have more of a milky appearance. If you store the whey, some of the solids should settle to the bottom and it will get clearer. If you want to avoid the loss of solids in the future just let your yogurt set up a little longer. I hope you enjoy the labneh!
Best,
Courtney